HiPerGator Reference
What is HiperGator?
A University of Florida super-computing cluster.
Why should I use it?
HiperGator gives the user access to very large processing/memory/storage. This is useful for projects which can’t be run on your local laptop.
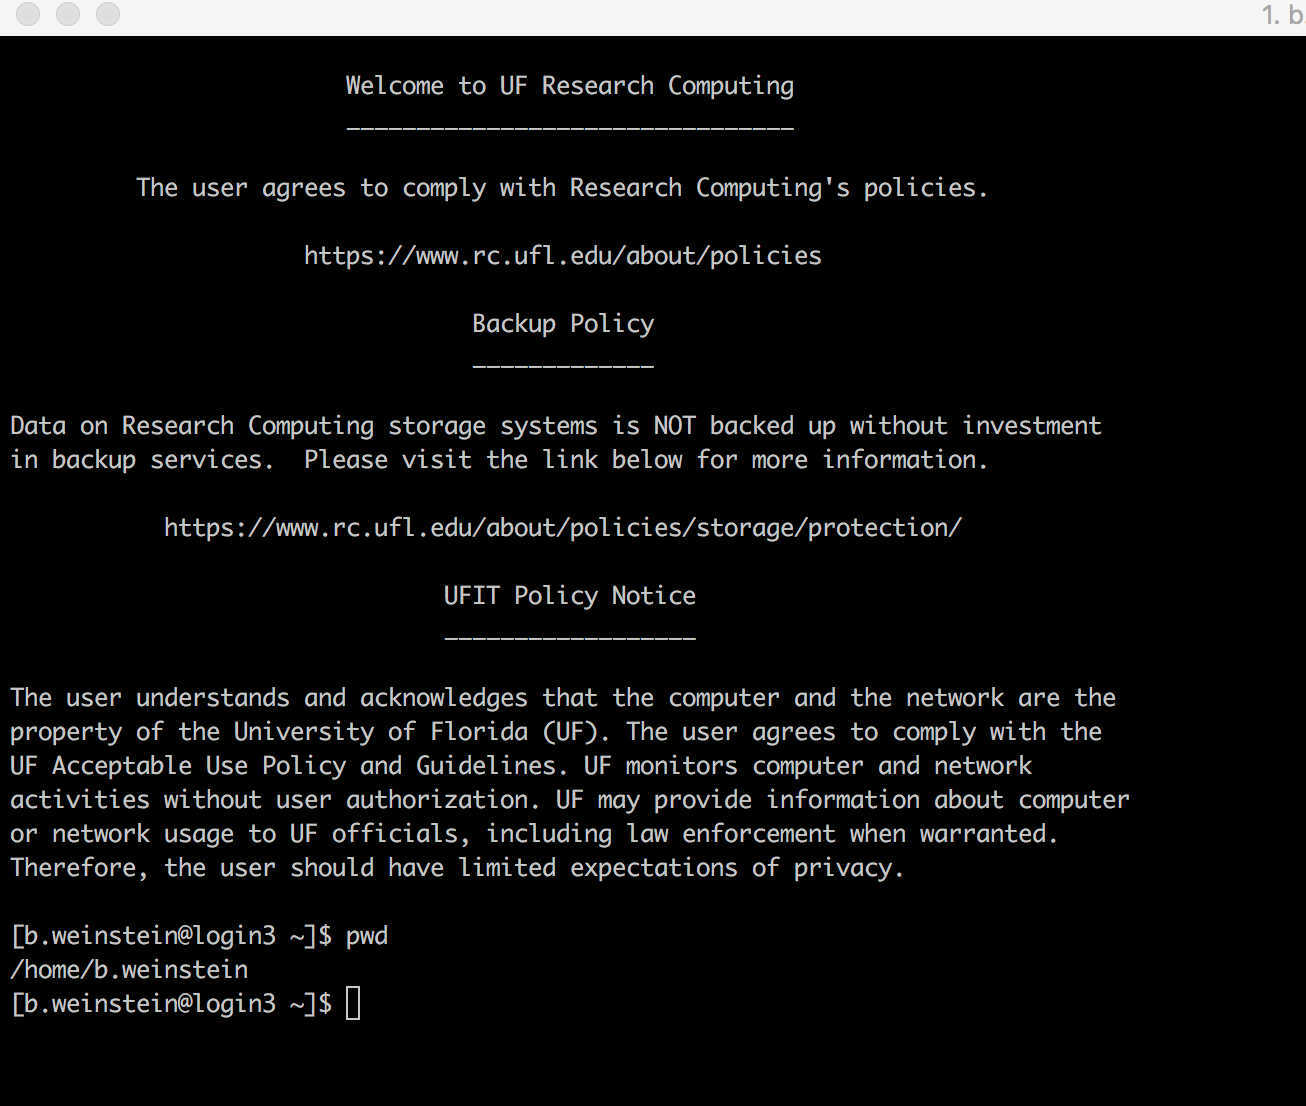
How do I access it?
Connect with
ssh <YOUR_USERNAME>@hpg2.rc.ufl.edufrom the Unix terminal or a Windows SSH client (more info here). Enter your password when prompted.
Need help with command line? A good tutorial is available at Software Carpentry.
How do I run a job?
For large analysis, you should submit a batch script that tells Hipergator how to run your code. Let’s look at an example and walk through it.
#!/bin/bash

# Job name and who to send updates to
#SBATCH --job-name=<JOBNAME>
#SBATCH --mail-user=<EMAIL>
#SBATCH --mail-type=FAIL,END
#SBATCH --account=ewhite
#SBATCH --partition=hpg2-compute
#SBATCH --qos=ewhite-b   # Remove the `-b` if the script will take more than 4 days; see "bursting" below

# Where to put the outputs: %j expands into the job number (a unique identifier for this job)
#SBATCH --output my_job%j.out
#SBATCH --error my_job%j.err

# Number of nodes to use
#SBATCH --nodes=1

# Number of tasks (usually translate to processor cores) to use: important! this means the number of mpi ranks used, useless if you are not using Rmpi)
#SBATCH --ntasks=1

#number of cores to parallelize with:
#SBATCH --cpus-per-task=15
#SBATCH --mem=16000
# Memory per cpu core. Default is megabytes, but units can be specified with M
# or G for megabytes or Gigabytes.
#SBATCH --mem-per-cpu=2G

# Job run time in [DAYS]
# HOURS:MINUTES:SECONDS
# [DAYS] are optional, use when it is convenient
#SBATCH --time=72:00:00

# Save some useful information to the "output" file
date;hostname;pwd

# Load R and run a script named my_R_script.R
Rscript my_R_script.R
If you are successful, you’ll get a small message stating your job ID. Once your batch job is running, you can freely log out (or even turn off your local machine) and wait for an email telling you that it finished. You can log back in to see the results later.
Interactive work
CPU
If you are running into errors, need to install a package in your local directory, or want to download some files, you should use a development server. This is good practice and nice to other people who are logged into the main head node.
#load module made by hipergator admin
ml ufrc
#request a server for 3 hours with 2GB of memory
srundev --time 3:00:00 --mem 2GB
GPU
To test out work involving a GPU you need to explicitly request a development node associated with a GPU. For many GPU tasks you may want a meaningful amount of memory.
In most cases you’ll use the default GPUs:
srun --nodes=1 --gpus=1 --mem 20GB --cpus-per-task=1 --pty -u bash -i
But if you need a lot of VRAM (>24 GB/GPU) you can use the B200 nodes:
srun -p hpg-b200 --nodes=1 --gpus=1 --mem 50GB --cpus-per-task=1 --pty -u bash -i
To increase the number of GPUs increase the value of --gpu, but you typically shouldn’t need more than 2 for interactive work and then only if you’re setting up multi-GPU testing.
To increase the number of CPUs increase the value for --cpus-per-task
How do I know if its running?
Use squeue -u
[b.weinstein@login3 ~]$ squeue -u b.weinstein
             JOBID PARTITION     NAME     USER ST       TIME  NODES NODELIST(REASON)
          25666905       gpu DeepFore b.weinst  R   22:29:49      1 c36a-s7
          25672257       gpu DeepFore b.weinst  R   21:07:19      1 c37a-s36
The column labeled “S” is your job status. You want this to be R for “running”, but it can spend a while as Q (in the queue) before starting, especially if you request many cores. Sometimes (but not always) the output will explain why you’re still in the queue (e.g. QOSMEMLIMIT if you’re using too much memory).
How do I get my data on to HiperGator?
Often, the easiest way to transfer files to the server is using
git clone.If your files aren’t in a git repository, you can use FTP or
scp. FTP has graphical user interfaces that allow you to drag and drop files to the server.If you use
scp, the syntax for copying one file from your user folder on the server to your local folder isscp MY_USER_NAME@gator.hpc.ufl.edu:/home/MY_USER_NAME/PATH_TO_MY_FILE MY_LOCAL_FILENAME. Note the space between the remote path and your local filename. If you want to send a file in the other direction, switch the order of the local file and the remote location. You can copy whole folders with the-rflag.If your files are large you should use Globus. See the wiki page on Globus
Storage
There are a few locations to store files on the hipergator
/blue/ewhite/
This is the primary space for storing large files, any large amounts of data generated by your programs should be pointed to this location.
/orange/ewhite/
This is another space to store large files. The total allocation here is much bigger than /blue, but this storage space is slower than /blue. If you have 100GB’s of data that you want to save, but are not currently using, /orange is where they should go.
/home/your_username/
Your home directory has 20GB storage space for your scripts, logs, etc. You should not be storing large amounts of data here.
Local scratch storage
$TMPDIR/blue may be a bad place to store temporary cache files, especially if your program is generating 100’s of small (<1mb) files. An alternative is to use a temporary directory setup by SLURM every time you run a job. This can be referenced with the environment variable $TMPDIR or SLURM_TMPDIR. Read more about this here: Temporary Directories
.
This storage is available on each worker (but not login nodes) but does not persist. For example, it can be referenced from python
import os
os.env["TMPDIR"]
To access this storage during a run, you can interactively ssh into the node and check out what’s there. The folder is named /scratch/local/{job_pid}.
Note that for /blue and /orange if you are working on individual projects that are part of a larger effort you should work in a subdirectory /blue/ewhite/<your_username>/ and /orange/ewhite/<your_username>/.
Our current allocations as of July 2019
| Storage Type | Location | Quota |
|---|---|---|
| orange | /orange | 48 TB |
| blue | /blue | 25 TB |
| home | /home/<your_username> | 20 GB |
Status
You can check the status of HiPerGator using the Metrics Dashboard
Best Practices
Below are a collection of best practices by past Weecology Users. These are not the only way to do things, just some useful tools that worked for us.
R
Installing packages
HiPerGator has a lot of packages installed already, but you might need to install your own, or you might want an updated version of an existing package.
You can tell R to prefer your personal library of R packages over the ones maintained for Hipergator by adding .libPaths(c("/home/YOUR_USER_NAME/R_libs", .libPaths())) to your .Rprofile. If you don’t have one yet, you can create a new file with that name and put it in your home directory (e.g. in /home/harris.d/.Rprofile).
The end result will look like this.
[b.weinstein@dev1 ~]$ cat ~/.Rprofile
.libPaths(c("/home/b.weinstein/R_libs", .libPaths()))

print(".Rprofile loaded")
You will need to create the R_libs directory using mkdir R_libs.
When you load R, you should see
[b.weinstein@dev1 ~]$ ml R
[b.weinstein@dev1 ~]$ R

R version 3.5.1 (2018-07-02) -- "Feather Spray"
Copyright (C) 2018 The R Foundation for Statistical Computing
Platform: x86_64-pc-linux-gnu (64-bit)

R is free software and comes with ABSOLUTELY NO WARRANTY.
You are welcome to redistribute it under certain conditions.
Type 'license()' or 'licence()' for distribution details.

  Natural language support but running in an English locale

R is a collaborative project with many contributors.
Type 'contributors()' for more information and
'citation()' on how to cite R or R packages in publications.

Type 'demo()' for some demos, 'help()' for on-line help, or
'help.start()' for an HTML browser interface to help.
Type 'q()' to quit R.

[1] ".Rprofile loaded"
>
Once this is set up, you can install or update packages the usual way (e.g. with install.packages or devtools::install_github).
Re-writing your code to take advantage of multiple cores.
By default R runs on a single processor. Most computers today have 4-8 processors. If you spread the work out to multiple processors you can decrease the amount of time it takes to run by significantly. For example: a script that takes 1 hour to run can potentially take 0.5 hours with 2 processors, or 15 minutes with 4 processors. To make your scripts run across multiple processors, you’ll have to make some slight adjustments to your code.
If your code uses lapply to run your main function to many items (e.g. fitting a model to each species), you can swap it for mclapply from the parallel package without making any substantial changes. For more details and advanced uses, here are 2 short tutorials that go over this:
Some quick notes:
- If your code already uses functions and for loops, it should be very easy to make it parallel, unless each pass through the loop depends on the outcome from previous passes.
- On your own computer, never set the amount of processors used to the max available. This will take away all the processing power needed to run the operating system, browser, and other programs, and could potentially crash your computer. To test out parallel code on my computer I set the number of processors to use at 2 (out of 8 available).
Batchtools
Recently, the R package batchtools has made simple parallel job submissions in R much easier. No more bash scripting, just submit a set of jobs by mapping a function to a list of inputs. Here is an example.
library(batchtools)

#Batchtools tmp registry
reg = makeRegistry(file.dir =".")
print(reg)
print("registry created")

print(reg)
# Toy function  that just sleeps
fun = function(n) {
  Sys.sleep(10)
  t<-Sys.time()
  print(paste("worker", n, "time is",t))
  return(t)
}

#batchtools submission
reg$cluster.functions=makeClusterFunctionsSlurm(template = "detection_template.tmpl", array.jobs = TRUE,nodename = "localhost", scheduler.latency = 1, fs.latency = 65)
ids = batchMap(fun,args=list(n=seq(1:10)), reg = reg)

testJob(id=ids[1,],reg=reg)

# Set resources: enable memory measurement
res = list(walltime = "2:00:00", memory = "4GB")

# Submit jobs using the currently configured cluster functions
submitJobs(ids, resources = res, reg = reg)
waitForJobs(ids, reg = reg)
getStatus(reg = reg)
print(getJobTable())
with a SLURM template in the same directory.
detection_template.tmpl
#!/bin/bash

## Modified from  https://github.com/mllg/batchtools/blob/master/inst/templates/

## Job Resource Interface Definition
##
## ntasks [integer(1)]:       Number of required tasks,
##                            Set larger than 1 if you want to further parallelize
##                            with MPI within your job.
## ncpus [integer(1)]:        Number of required cpus per task,
##                            Set larger than 1 if you want to further parallelize
##                            with multicore/parallel within each task.
## walltime [integer(1)]:     Walltime for this job, in seconds.
##                            Must be at least 60 seconds for Slurm to work properly.
## memory   [integer(1)]:     Memory in megabytes for each cpu.
##                            Must be at least 100 (when I tried lower values my
##                            jobs did not start at all).
##
## Default resources can be set in your .batchtools.conf.R by defining the variable
## 'default.resources' as a named list.

<%
# relative paths are not handled well by Slurm
log.file = fs::path_expand(log.file)

if (!"ncpus" %in% names(resources)) {
  resources$ncpus = 1
}
if (!"walltime" %in% names(resources)) {
  resources$walltime<-"1:00:00"
}
if (!"memory" %in% names(resources)) {
  resources$memory <- "5GB"
}

-%>

  # Job name and who to send updates to
  #SBATCH --mail-user=benweinstein2010@gmail.com
  #SBATCH --mail-type=FAIL,END
  #SBATCH --account=ewhite
  #SBATCH --partition=hpg2-compute
  #SBATCH --qos=ewhite-b   # Remove the `-b` if the script will take more than 4 days; see "bursting" below

  #SBATCH --job-name=<%= job.name %>
  #SBATCH --output=<%= log.file %>
  #SBATCH --error=<%= log.file %>
  #SBATCH --time=<%= resources$walltime %>
  #SBATCH --ntasks=1
  #SBATCH --cpus-per-task=<%= resources$ncpus %>
  #SBATCH --mem-per-cpu=<%= resources$memory %>
  <%= if (!is.null(resources$partition)) sprintf(paste0("#SBATCH --partition='", resources$partition, "'")) %>
  <%= if (array.jobs) sprintf("#SBATCH --array=1-%i", nrow(jobs)) else "" %>

## Initialize work environment like
## source /etc/profile
## module add ...

source /etc/profile

## Export value of DEBUGME environemnt var to slave
export DEBUGME=<%= Sys.getenv("DEBUGME") %>

<%= sprintf("export OMP_NUM_THREADS=%i", resources$omp.threads) -%>
<%= sprintf("export OPENBLAS_NUM_THREADS=%i", resources$blas.threads) -%>
<%= sprintf("export MKL_NUM_THREADS=%i", resources$blas.threads) -%>

## Run R:
## we merge R output with stdout from SLURM, which gets then logged via --output option
echo "submitting job"
module load gcc/6.3.0 R gdal/2.2.1

#add to path
Rscript -e 'batchtools::doJobCollection("<%= uri %>")'
yields
Submitting 10 jobs in 10 chunks using cluster functions 'Slurm' ...
[1] TRUE
Status for 10 jobs at 2019-05-21 14:43:03:
  Submitted    : 10 (100.0%)
  -- Queued    :  0 (  0.0%)
  -- Started   : 10 (100.0%)
  ---- Running :  0 (  0.0%)
  ---- Done    : 10 (100.0%)
  ---- Error   :  0 (  0.0%)
  ---- Expired :  0 (  0.0%)
Python
Installing Python Packages
- ssh onto HiperGator
- Download the conda installer:
wget https://repo.anaconda.com/miniconda/Miniconda3-latest-Linux-x86_64.sh - Run the installer:
bash Miniconda3-latest-Linux-x86_64.sh - Answer ‘Yes’ at the end of the install to have conda added to your
.bashrc - Install packages using
conda install package_name - Run
conda activateas the first step in your slurm script
Dask Parallelization
Dask can be submitted through dask-jobqueue.
#################
    # Setup dask cluster
    #################

    from dask_jobqueue import SLURMCluster
    from dask.distributed import Client, wait

    num_workers = 10

    #job args
    extra_args=[
        "--error=/home/b.weinstein/logs/dask-worker-%j.err",
        "--account=ewhite",
        "--output=/home/b.weinstein/logs/dask-worker-%j.out"
    ]

    cluster = SLURMCluster(
        processes=1,
        queue='hpg2-compute',
        cores=1,
        memory='13GB',
        walltime='24:00:00',
        job_extra=extra_args,
        local_directory="/home/b.weinstein/logs/", death_timeout=300)

    print(cluster.job_script())
    cluster.adapt(minimum=num_workers, maximum=num_workers)

    dask_client = Client(cluster)

    #Start dask
    dask_client.run_on_scheduler(start_tunnel)

    futures = dask_client.map(<function you want to parallelize>,  <list of objects to run>, <additional args here>)
    wait(futures)
Connecting through jupyter notebooks.
Its useful to be able to interact with hipergator, without having to rely solely on the terminal. Especially when dealing with large datasets, instead of prototyping locally, then pushing to the cloud, we can connect directly using a jupyter notebook.
- Log on to hipergator and request an interactive session.
srun --ntasks=1 --cpus-per-task=2 --mem=2gb -t 90 --pty bash -i
Now we have 90 minutes work directly on this development node.
- Create a juypter notebook
Load the python module
module load python
Start the notebook and get your ssh tunnel
import socket
import subprocess
host = socket.gethostname()
proc = subprocess.Popen(['jupyter', 'lab', '--ip', host, '--no-browser'])

print("ssh -N -L 8888:%s:8888 -l b.weinstein hpg2.rc.ufl.edu" % (host))
If all went well it should look something like:
[b.weinstein@c27b-s2 dask-jobqueue]$ python
Python 3.6.4 |Anaconda, Inc.| (default, Jan 16 2018, 18:10:19)
[GCC 7.2.0] on linux
Type "help", "copyright", "credits" or "license" for more information.
>>> import socket
>>> import subprocess
>>> host = socket.gethostname()
>>> proc = subprocess.Popen(['jupyter', 'lab', '--ip', host, '--no-browser'])
>>>
>>> print("ssh -N -L 8888:%s:8888 -l b.weinstein hpg2.rc.ufl.edu" % (host))
ssh -N -L 8888:c27b-s2.ufhpc:8888 -l b.weinstein hpg2.rc.ufl.edu
>>> [I 17:11:29.776 LabApp] The port 8888 is already in use, trying another port.
[I 17:11:29.799 LabApp] JupyterLab beta preview extension loaded from /home/b.weinstein/miniconda3/envs/pangeo/lib/python3.6/site-packages/jupyterlab
[I 17:11:29.799 LabApp] JupyterLab application directory is /home/b.weinstein/miniconda3/envs/pangeo/share/jupyter/lab
[I 17:11:29.809 LabApp] Serving notebooks from local directory: /home/b.weinstein/dask-jobqueue
[I 17:11:29.809 LabApp] 0 active kernels
[I 17:11:29.809 LabApp] The Jupyter Notebook is running at:
[I 17:11:29.809 LabApp] http://c27b-s2.ufhpc:8889/?token=0c9c992a219e1e35ddd4cbe782d7f1f56c6680118b13053c
[I 17:11:29.809 LabApp] Use Control-C to stop this server and shut down all kernels (twice to skip confirmation).
[C 17:11:29.811 LabApp]

    Copy/paste this URL into your browser when you connect for the first time,
    to login with a token:
        http://c27b-s2.ufhpc:8889/?token=0c9c992a219e1e35ddd4cbe782d7f1f56c6680118b13053c
see that line ssh…, that is what we need to enter in our local laptop. It will ask for your login password
MacBook-Pro:~ ben$ ssh -N -L 8888:c27b-s2.ufhpc:8888 -l b.weinstein hpg2.rc.ufl.edu
b.weinstein@hpg2.rc.ufl.edu's password:
Don’t worry if it looks like it hangs, the tunnel is open! Go check it out.
Opening your browner, go to localhost:8888
and viola, we are navigating hipergator from the confines of our own laptop.
Support
Hipergator staff are here to support you. Our grant money pays their salary. They are friendly and eager to help. When in doubt, just ask.
For more information on (job submission scripts)[https://wiki.rc.ufl.edu/doc/Annotated_SLURM_Script]
Priority
The supercomputer is a shared resource, and the SLURM scheduler has to decide how to divvy it up. The method they use for deciding when it’s your turn to use a machine based on a metric called “FairShare.” You can see your FairShare number by typing sshare -U in your hipergator terminal. A FairShare of 0.5 means you’ve been using exactly your share. Larger numbers mean you can use more, while smaller numbers mean you’re using more than your share and will be given lower priority.
Your “usage” number is an exponentially-weighted moving average of the resources you’ve consumed, with a half-life of two weeks. So if you’ve “bursted” at 10x for a while, it might take a few weeks before you’re given decent priority again.
A more comprehensive description of FairShare is available here.
Bursting
If your jobs will take less than 4 days, you can use “burst” mode, which provides ten times as many cores and ten times as much memory as the default mode. If you cannot burst, just remove the -b from the line above about qos. Note than if you are using burst your jobs will automatically be killed after 96 hours if they haven’t already finished.
Current usage
To see the current usage by our group, as well as overall hipergator usage, use the command
slurmInfo -pu
To see the total available resources use:
sacctmgr show qos ewhite format="Name%-16,GrpSubmit,MaxWall,GrpTres%-45"
for the normal queue, andsacctmgr show qos ewhite-b format="Name%-16,GrpSubmit,MaxWall,GrpTres%-45"
for the “burst” queue.
If you want to look at the active resource use by a current job (i.e., how much of the requested resources are actually being used by the code):
ml ufrc

jobhtop JOBID # Displays CPU and RAM resource usage for running jobs
jobnvtop JOBID #Displays GPU resource usage for running GPU jobs
Both of these take a while to start (up to ~2 min).
Partitions
The HiperGator consists of hundreds of servers. These a split up into several “partitions” for various reasons.
Most of the time you can just use the defaults, but there are a few species partitions available that you might been to request:
hpg-b200- This is the partition to use for GPU jobs with large VRAM needs (>24 GB/GPU). You need to have paid for GPU access, which our lab has.bigmem- This partitions consists of several servers with up to 1TB of memory. This is useful if you need a lot of memory but still want to keep a script on a single server.hpg2-dev- These are several servers for development purposes. When you usesrundevthe jobs get sent here.
Selecting a partition
By default you’ll run jobs on the hpg2-compute partitions. If you want to change it, edit the --partition line in your job script, or use the -p command in srun.
Cron jobs - how to run regularly scheduled jobs
If you’re unfamiliar with cron jobs read A Beginners Guide To Cron Jobs.
SSH to daemon
Cron jobs on the HPC need to be setup on a special machine called daemon.
You can ssh there from the HPC using ssh daemon.
After that you can use the usual crontab -e to setup your cron job.
Setting PATH for cron jobs
For some reason the PATH isn’t properly set when running cron jobs, so you need to set it at the top of the crontab. Add a line like this adding any additional paths you need (e.g., the location of your conda environments).
PATH=/opt/slurm/bin:/usr/lib64/qt-3.3/bin:/usr/local/bin:/usr/bin:/usr/local/sbin:/usr/sbin:/bin:/home/USERNAME/bin:/blue/ewhite/USERNAME/miniconda3/bin/
Check if running on HiPerGator
Sometimes it’s useful to have code execute one way on your local computer and another way on the HPC. For HiPerGator you can do this by checking the environmental variable HOSTNAME and looking to see if it contains ufhpc. For example, in R
if (grepl("ufhpc", Sys.getenv("HOSTNAME"))){
  hipergator_run()
} else {
  local_run()
}
If you are submitting via SLURM, the hostname will not contain “ufhpc” but the nodename will. So use this logic:
nodename <- Sys.info()["nodename"]
if(grepl("ufhpc", nodename)) {
  print("I know I am on SLURM!")
}
Using RStudio on the hipergator
See the main Wiki page here on running gui programs. https://help.rc.ufl.edu/doc/GUI_Programs#Start_a_GUI_Session_on_HiPerGator
Using VSCODE on hipergator
Vscode is a great development environment for many languages (python, java, bash), and allows powerful integration with github copilot and other debugging tools. The docs on hipergator hint at how to do this, but don’t make it clear how to check out a node and develop with those resources. We can use vscode tunnels to do this easily.
Start by creating a SLURM script to get a development node. In this case, I want a GPU node.
(base) [b.weinstein@login11 ~]$ cat tunnel.sh
#!/bin/bash
#SBATCH --job-name=tunnel   # Job name
#SBATCH --mail-type=END               # Mail events
#SBATCH --mail-user=benweinstein2010@gmail.com  # Where to send mail
#SBATCH --account=ewhite
#SBATCH --nodes=1                 # Number of MPI ran
#SBATCH --cpus-per-task=10
#SBATCH --mem=70GB
#SBATCH --time=12:00:00       #Time limit hrs:min:sec
#SBATCH --output=/home/b.weinstein/logs/tunnel.out   # Standard output and error log
#SBATCH --error=/home/b.weinstein/logs/tunnel.err
#SBATCH --gpus=1

module load vscode
export XDG_RUNTIME_DIR=${SLURM_TMPDIR}; code tunnel
- Submit the job and view the logs
(base) [b.weinstein@login11 ~]$ sbatch tunnel.sh
(base) [b.weinstein@login11 ~]$ cat /home/b.weinstein/logs/tunnel.out
*
* Visual Studio Code Server
*
* By using the software, you agree to
* the Visual Studio Code Server License Terms (https://aka.ms/vscode-server-license) and
* the Microsoft Privacy Statement (https://privacy.microsoft.com/en-US/privacystatement).
*
[2024-05-23 11:56:57] info Using Github for authentication, run `code tunnel user login --provider <provider>` option to change this.
To grant access to the server, please log into https://github.com/login/device and use code 3390-CCD9
Go to https://github.com/login/device and authenticate with the code. You will see the hipergator logs change and successfully connect.
Go to your local vscode instance, active the ‘remote explorer’ extension and click on ’tunnels’. You will see the hipergator tunnel listed.
Success! Now you are the GPU node and can debug and run with those resources!